
1. Install the management application
Download and install Awesome Miner on a supported 64-bit Windows computer. If miners are located on other computers or sites, review the Remote Agent, Remote Proxy, and Server options on the download page.
2. Add license details if required
Awesome Miner can manage up to two miners without a license. An active subscription is required for larger deployments and access to all features. License details are entered in the Registration section of the application options.
3. Add an ASIC or managed miner
For ASIC hardware, use the wizard to scan the local network or add a miner by IP address. For GPU or CPU mining, add a Managed Miner and select whether it runs locally or through Remote Agent.
4. Check monitoring data
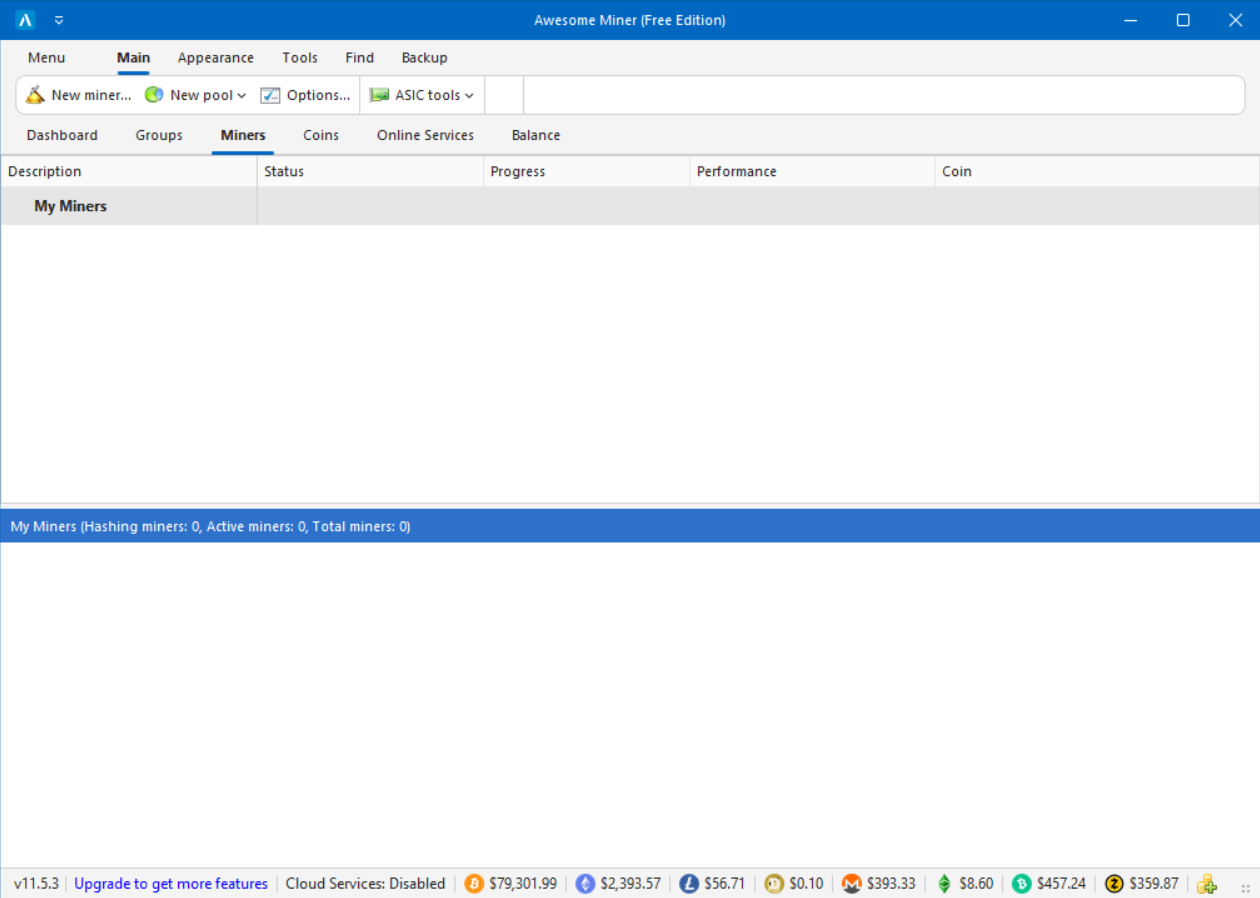
Open the miner list and confirm the model, connection status, hashrate, temperature, and active pool. If control actions are unavailable, check the miner’s API access mode and model-specific requirements.
5. Configure pools and profit switching
Add the pool endpoint and public wallet address, then choose a fixed mining configuration or Profit Switcher. A normal pool setup does not require a wallet seed phrase or private key.
6. Add notifications and rules
Configure notifications for conditions that need attention. If you add automated recovery actions, test the rule on one selected miner and confirm the result in the application log.
Menu names and hardware-specific requirements can change between releases. Use the publisher’s documentation for exact settings.